How to Add Sidebar Settings to a Custom Gutenberg Block
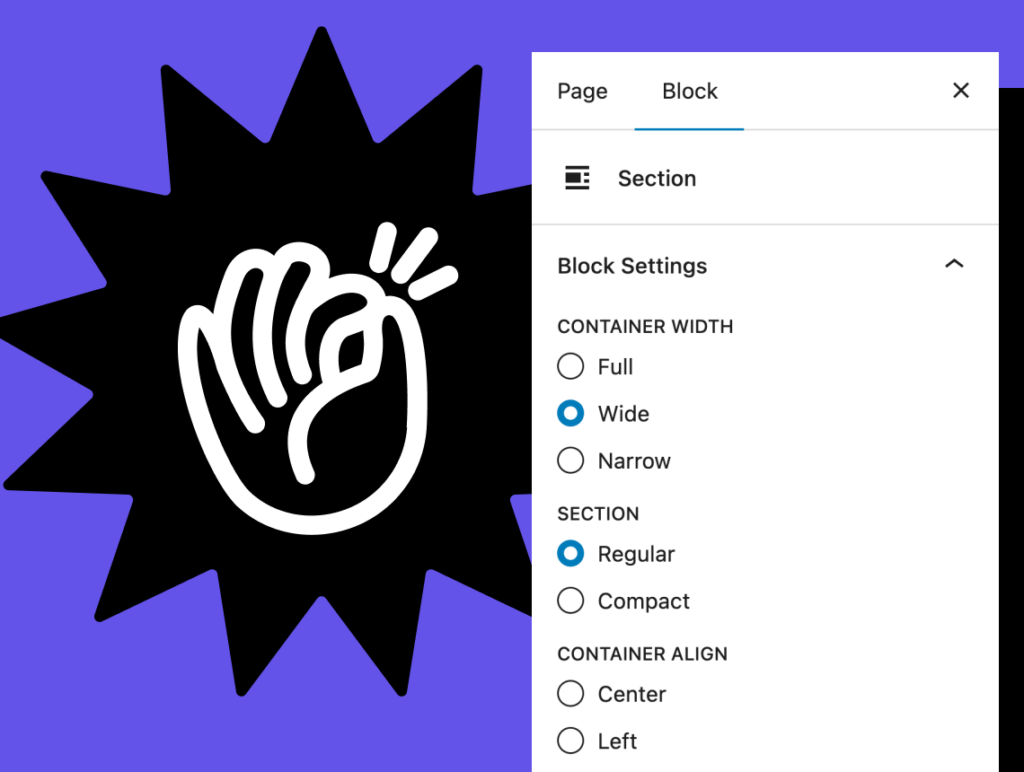
When you select a core block, the right sidebar shows its settings: colors, typography, toggles. Your own blocks can have the same: a text field for a label, a toggle to show an image, a dropdown for a style variant, a picker for related posts. These settings are called attributes.
How attributes work
Attributes are declared in the block’s block.json:
"attributes": {
  "authorName": { "type": "string", "default": "" },
  "showPhoto":  { "type": "boolean", "default": true },
  "rating":     { "type": "number", "default": 5 }
}
WordPress saves the values with each block instance in the post, and passes them to your PHP render as $attributes. The controls in the sidebar are React components (TextControl, ToggleControl, RangeControl…) that you normally write in edit.js inside <InspectorControls>. Since WordPress 7.0, a block registered from PHP with autoRegister gets these controls generated for string, number, integer and boolean attributes (PHP-only block registration). Richer types such as image, color, link or date still need JavaScript or a tool.
Choosing the right field type
| Field | Good for | Example |
|---|---|---|
| Text | Short labels | Author name, button label |
| Textarea | Longer text | Quote, description |
| Number / Range | Numbers with limits | Rating 1–5, columns |
| Toggle / Checkbox | On/off options | Show image, open in new tab |
| Select / Radio | Variants | Style: primary, outline, ghost |
| Color | Colors | Background, accent |
| Image / File | Media | Photo, downloadable PDF |
| Link | URLs | Button target |
| Date | Dates | Event date |
| Relationship / Post Types / Taxonomies | Content pickers | Related posts, “show only this category” |
Rule of thumb: use the most restrictive control that works. A select with three styles is safer than a free text field where editors type class names.
Adding attributes without React (FanCoolo WP)
FanCoolo WP has a visual Attributes Manager:
- Open the block’s Attributes tab and click + Add attribute.
- Choose the Type (all the types in the table above are available).
- Enter the attribute name in camelCase, for example
authorName. For Select and Radio, add the options. - Copy the PHP example shown under the attribute into your block’s Content code.
FanCoolo generates block.json and renders the controls with native WordPress components, so they look and behave like core blocks’ settings.
<?php
$name  = $attributes['authorName'] ?? '';
$photo = ! empty( $attributes['showPhoto'] );
$style = $attributes['variant'] ?? 'primary';
?>
<figure <?php echo get_block_wrapper_attributes( [ 'class' => 'testimonial testimonial--' . esc_attr( $style ) ] ); ?>>
  <?php if ( $photo ) : ?><!-- photo markup --><?php endif; ?>
  <figcaption><?php echo esc_html( $name ); ?></figcaption>
</figure>
Tips
- Always give a default (
?? ''), so a block inserted before you added a field still renders. - Escape everything you print:
esc_html,esc_attr,esc_url. - Rename carefully. Changing an attribute name leaves old blocks with the old key; keep a fallback for a while.
- For content editors type a lot (headings, paragraphs), prefer nested blocks over big textarea fields.
Block settings without React
FanCoolo WP’s Attributes Manager adds native sidebar controls to your blocks, from text fields to post pickers.
Related guides
- How to Create a Custom Gutenberg Block Without React: Build a native custom block with PHP only.
- How to Build a Gutenberg Block That Shows ACF Fields: Show Advanced Custom Fields data in the block editor.
- How to Build a Dynamic Gutenberg Block That Lists Posts: List posts with WP_Query in a custom PHP block.
- How to Build Reusable Components Across Gutenberg Blocks: Write a button or card once, use it in every block.
Browse all WordPress tutorials.