How to Paste HTML into Bricks Builder
You found a great section on CodePen, got a layout from an AI tool, or have a static HTML template from a designer. Now you want it in Bricks Builder. You can paste it into a Code element, but then it’s one uneditable block: no visual editing, no Bricks classes, no dynamic data. What you really want is the HTML converted into real Bricks elements.
Option 1: the Code element (quick, but a dead end)
Bricks has a Code element that outputs raw HTML (enable Code Execution in Bricks settings first). It’s fine for a one-off embed. But everything inside is a single chunk: editors can’t change the text visually, you can’t bind dynamic data, and you can’t reuse the classes in the builder.
Option 2: rebuild by hand
Recreate the structure element by element: Section, Container, Div, Heading, Text, Button, Image. Then copy each class name into Bricks’ class selector. It gives the cleanest result, and for a large page it takes hours.
Option 3: Bricks’ own converter (Bricks 2.3 and newer)
Since version 2.3, Bricks converts pasted HTML and CSS into native elements, classes and variables itself (Bricks 2.3 release). The Bricks Academy explains how to turn it on and use it: HTML & CSS to Bricks.
Option 4: Paste HTML with Swiss Knife for Bricks
Swiss Knife for Bricks has its own Paste HTML feature that converts HTML into native Bricks elements in one step. It attaches the class names and leaves the CSS to your framework or stylesheet.
Set it up
- Make sure the site runs on HTTPS. Browsers only allow clipboard access on secure pages.
- In Swiss Knife’s settings, enable Paste HTML and save (it’s off by default).
- If your HTML contains inline SVG, enable Code Execution in Bricks, because inline SVG becomes a Code element.
Paste
- Copy the HTML: from your code editor, from the browser’s inspector, or from anywhere on your clipboard.
- In the Bricks editor, right-click → Paste HTML, or use the clipboard icon in the top bar.
- The first time, your browser asks for clipboard permission. Allow it.
The HTML appears as a tree of Bricks elements you can edit visually.
What converts
| HTML | Becomes |
|---|---|
h1–h6, p | Heading and Text elements |
a, buttons | Link / Button elements |
div, span | Div elements |
img, SVG files | Image elements (the file itself isn’t uploaded; add it to the Media Library) |
inline <svg> | A Code element |
class="…" | Class names attached to the elements |
Class names are attached, but their CSS isn’t imported into Bricks. Bring the styles along with a CSS framework or your own stylesheet: this is where a utility framework like Tailwind shines, because the classes carry the design.
Tips for clean results
- Paste sections, not whole documents. Copy the
<section>you need rather than<html>and<head>. - Remove scripts first. Interactivity from the original page won’t come along.
- Re-link images to files in your Media Library after pasting.
- Rename classes to your naming system right away, before you reuse them across pages.
Picking a builder for a new site? See Bricks vs Gutenberg.
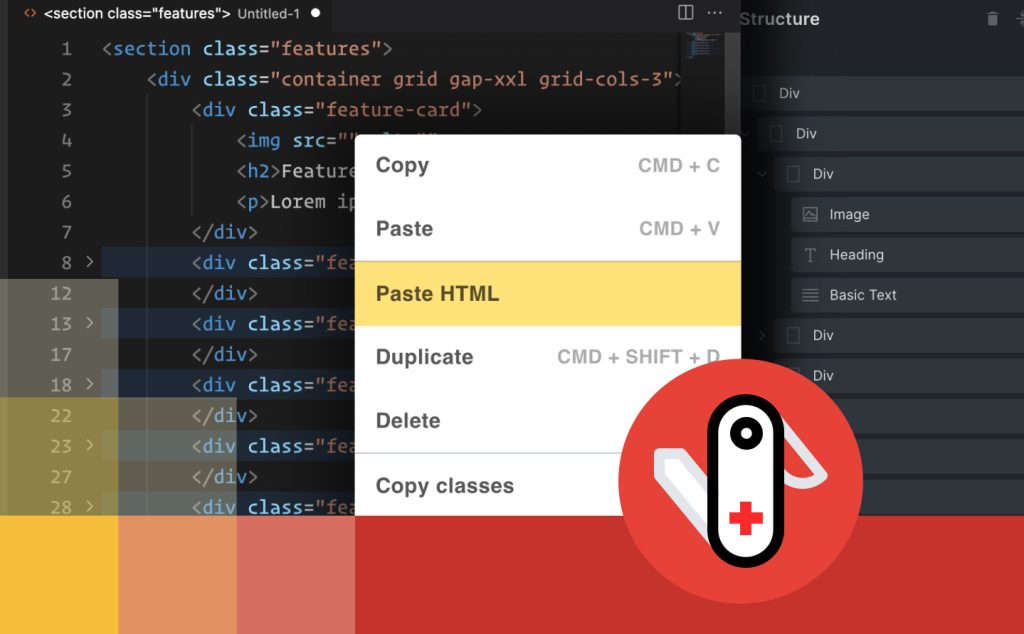
Paste HTML as real Bricks elements
Swiss Knife for Bricks converts HTML into editable Bricks elements, plus many workflow tools for Bricks Builder.
Related guides
- How to Copy and Paste Classes Between Elements in Bricks Builder: Reuse styles without retyping class names.
- Custom Oxygen mobile menu: Build your own mobile menu in Oxygen Builder.
- GSAP Animation in Oxygen Builder: Basic: Your first GSAP animation in Oxygen.
- GSAP Animation in Oxygen Builder: Staggering: Animate lists of elements one after another.
Browse all WordPress tutorials.